Main Support
Scheduling site backups with All-in-One WP Migration
Follow the steps below to schedule and monitor your WordPress backups with All-in-One WP Migration.
- Ensure that you have installed and activated the All In One WordPress Migration plugin in the WordPress admin area (see configuration details).
- Log in to your account at Watchful and view your
sites dashboard. - Find the WordPress site you want to edit click and click the site name to open the
drawerand reveal theTools and Insightsarea. - In the
Toolsarea, click theEditbutton corresponding to the site you configured above for remote backups. This opens theSite Editdialog.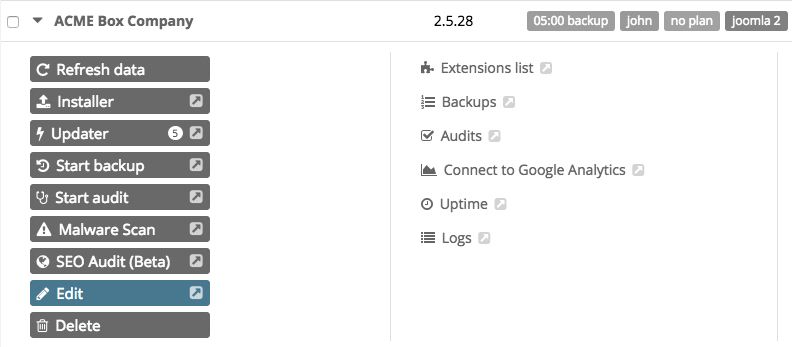
- In the Backup area, select
All-in-One WP Migrationfrom the plugin dropdown selector as shown below: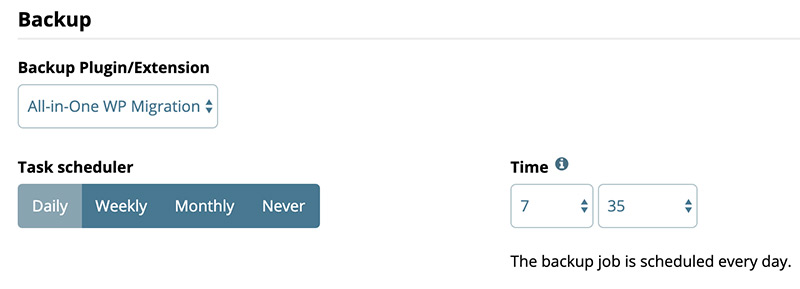
- Configure the
Task schedulefor daily, weekly or monthly backups. If you choose a weekly schedule, you can select specific days to backup. - Specify a backup
Time. The best time to backup is typically the time of day your site has the lowest traffic. - Complete the process by selecting the
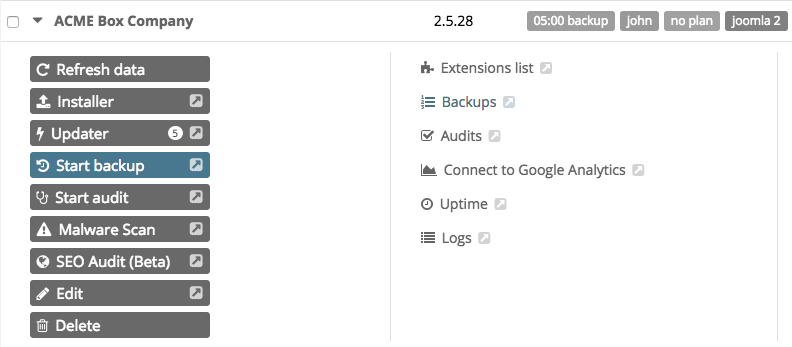
Save & Closebutton at the bottom of theSite Editdialog. This returns you to the open drawer for the site. - In the tools section, test the remote backup process by selecting the Start Backup button in the site drawer.
Search Knowledge base
Most popular
- Add a Joomla website to Watchful
- Add a website to Watchful
- Add a WordPress website to Watchful
- Does Watchful support managed hosts like WP Engine, Flywheel, and Pantheon?
- How do I generate reports for my clients?
- How to add Tags to your WordPress & Joomla websites in Watchful
- How to use the Auto Update Scheduler
- How to use the Auto Updater
- Managing your auto-updating softwares
- Three ways to backup your website with Watchful